Random DIY That You Don't Need but Totally Want
Leave it to the world's worst procrastinator to decide to make a pillow for my cats with a piece of foam I found while attempting to clean my house. I had JUST walked into my office to clean it up, when I found a large piece of packing foam that I received in a package to keep some fragile vases safe. I decided this was perfect for a cat bed, and that this was the best time to do it. If I wait, I rationalized, then it would just be adding to the clutter. But if I made it right away, I wouldn't be hoarding garbage and would be making my cats happy. #ADHDJustification
Ready to see this odd-ball, last minute craft I decided to make for no reason? Great! I present to you, the DIY Cat Bed (with foam and pajamas)...

Step 1
Grab your supplies. Make sure to snap a pic in terrible lighting.

You will need:
- Yarn (or thread)
- Old pajamas (or fabric)
- A needle
- Foam piece (or stuffing)
- Tape (not shown)
- Scissors (not shown)
- Safety pins (not shown)
The foam in this picture had plastic around it. I took it off for this project.
Step 2
Put the foam in the pants. I stuffed the rectangular foam in the pajama pant leg (the width of the foam fit quite nicely in the pants). If you are using fabric, then cut the fabric so it fits around the foam.

Step 3
Thread your needle. With thicker yarn, threading it through the hole can be hard because it's more likely to fray. Wrap a piece of tape around the end to make it sturdier so you can press it through the needle hole.

Step 4
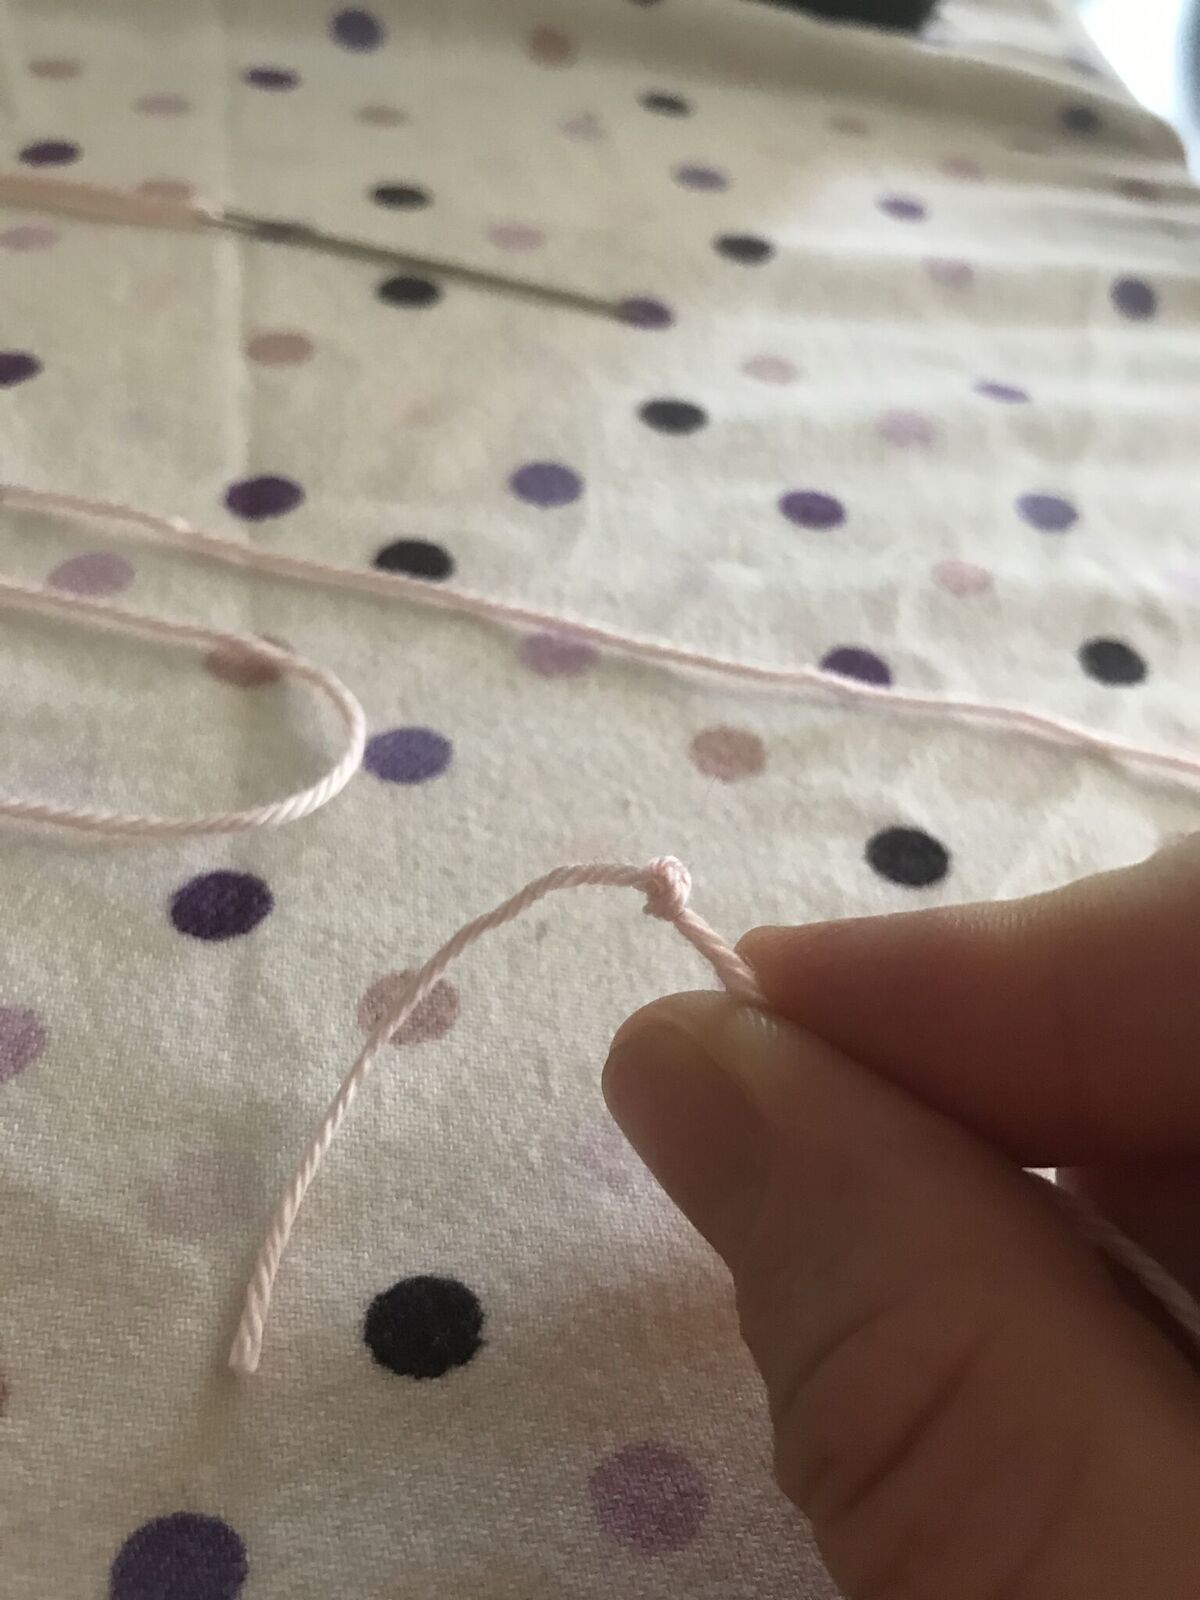
Measure out enough thread to sew the side(s) you're working on. (I was only doing two sides, and I roughly measured about 7x the length of the sides I had to sew, for no reason other than I wanted to be safe and keep up with the randomness of this project) Cut the thread/yard and tie a knot at the end (I doubled my knot)
Step 5
Begin sewing! I used a blanket stitch, which I miraculously knew how to do. If you don't know how to do that, check out this video for a quick tutorial. Search other YouTube videos for other stitches too.

 |
| Before sewing, make sure you are lining up your two sides together. This end was the hemmed bottom of the pant, so it was a little easier because I knew it was even. Even so, I folded the hem inward for a nice clean edge. Look at the follow pictures for how I did it. |


Step 6
Finish it off with a knot. There are ways to hide the knot, but I couldn't figure it out. This is for a cat for crying out loud. They don't care.

Step 7
Do the other side. My "other side" was way more complicated because I started with the neatly hemmed bottom of the pant leg. So this side required me to cut the leg from the rest of the pant which is wider than the leg, and way more awkward. It resulted in this mess portrayed for you in this series of pictures...
 |
| This is from cutting the leg from the pant. Total mess. Using kitchen shearers may not have been my best idea. |
 |
| To help make sure I was sewing somewhat evenly, I folded the edges so they matched up in a straight line. |
 |
| To keep them folded, I used safety pins to hold them in place. Make sure to take them out when you get to them while sewing! |
 |
| When I started on this side, I had to manage these weird corners. The reason there was so much extra fabric is because it was larger up at the top of the left (you know, because thighs and butt are bigger than your ankles, usually). Therefore, I had to figure out how to stuff these corners inward and sew around them. I guess I could have snipped along the seam, sewn (sewed?) a tighter seam similar to the ankle area of the pants, and did the same way I did on the first edge, but this seemed more fitting to the scenario. |
 |
| Once I lined up the wonky corner and stuffed it inward, I began to sew with the blanket stitch again |
 |
| Get to the end, do the corner stuff again, and knot it up. |
Step 8
Force your cat to lay on it by picking him up and putting him on the bed and constantly petting him until he lays down.

I'm sure this tutorial was not helpful at all because I doubt you have a piece of rectangular foam lying around, nor do you save old pajamas with a hole in the crotch, but alas, maybe it has inspired you to be creative today.
ABA at Play: escape-maintained behavior, task analysis, visuals, permanent product, reinforcement (for cats)


Thanks for sharing such a descriptive blog. I learned so much from this blog.
ReplyDeletecomb binding machines
cheap snap frames